
More people want to take control of their future and become their own bosses. The low entry requirements and less capital needed for e-commerce business have made it a trend in recent years. Compared to opening a physical store, selling online can save labor costs and rent, and even during the epidemic, online operations are less affected due to lockdowns.
Many people start their businesses on well-known e-commerce websites, such as Amazon, Etsy, eBay, etc. The benefit is that it is easy to operate and you can start selling your products once they are listed. However, selling on marketplace is hard to build brand awareness and often suffers from harsh price competitions.
Owning your own brands means having a group of loyal customers and better margins. So selling on your own website using platforms like Shopify, WooCommerce, and BigCommerce, can be better in the long-term.
We will walk through 5 simple steps for you to set up a store on Shopify.
Step 1 – Set Up Your Account
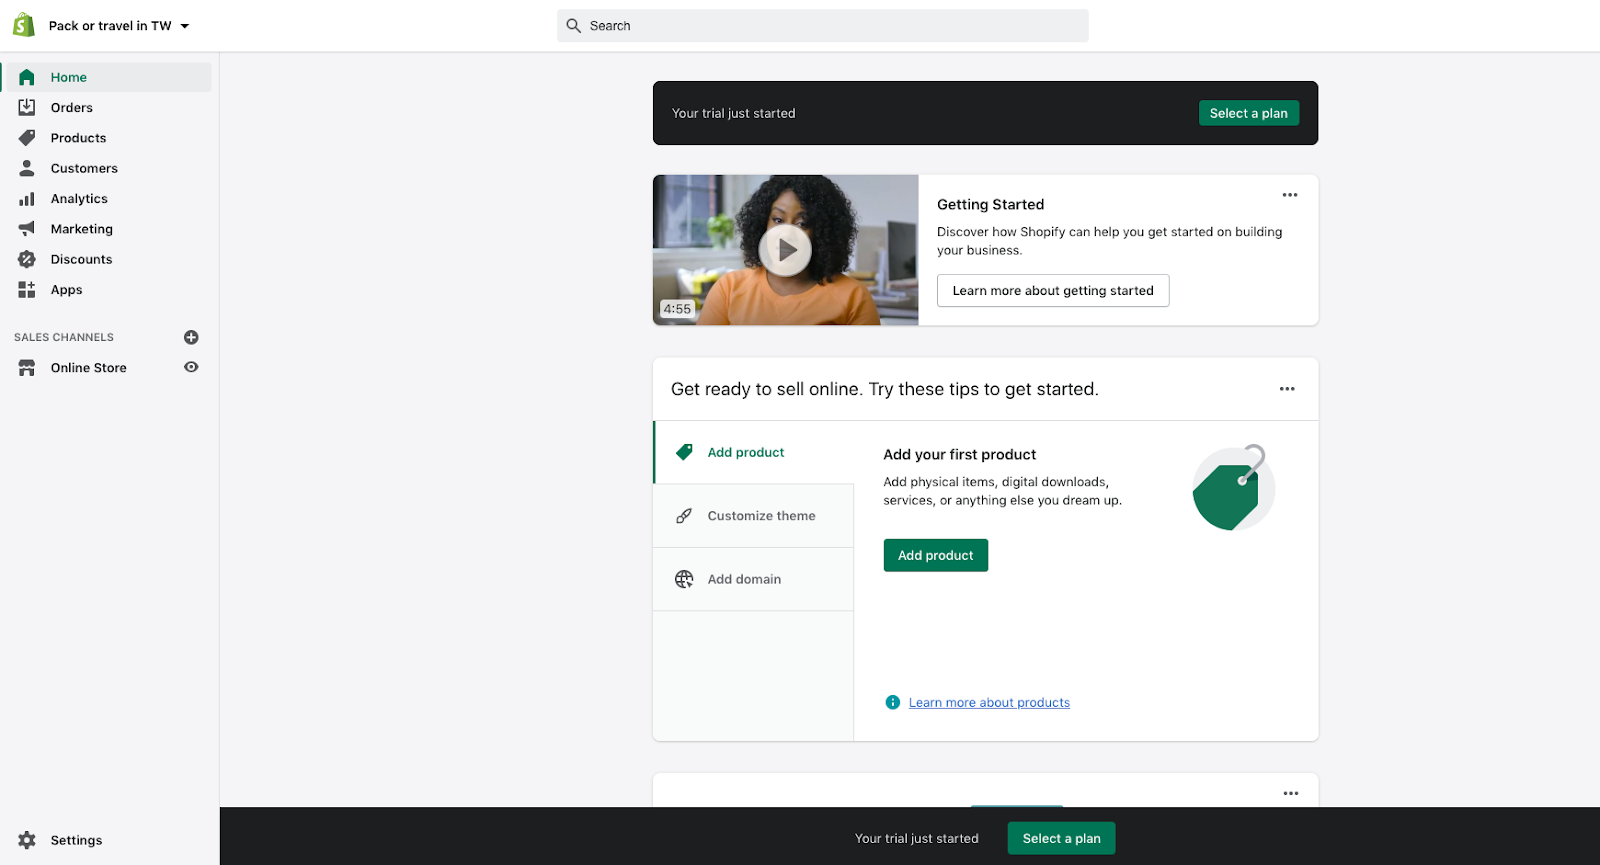
Simply go to Shopify’s website and sign up for an account, and get a 14-day free trial. You will need to enter your email as your account name and set a password and store name, which can not be the same as others. Fill in information step by step according to the requirements of the website, and then you need to provide your personal or company’s information including full name, phone, and address to get paid. Click on “enter my store” to access your store’s backend.
Step 2 – Pick and Design your Theme
Once you’ve created an account, firstly you will need a website for your customers to visit. On the left-hand side, click on “Online Store” > “theme” which is where you can pick a theme for your website and match your brand style.
Scroll down to the bottom, and you will see theme options. Since you can change it at any point, we suggest you choose one of Shopify’s free themes to start with. After adding the theme you favor to the library, you can start adjusting colors, typography, and images by clicking the “Customize” button. Also, you can add, remove, or move sections according to your needs.
Step 3 – List your products
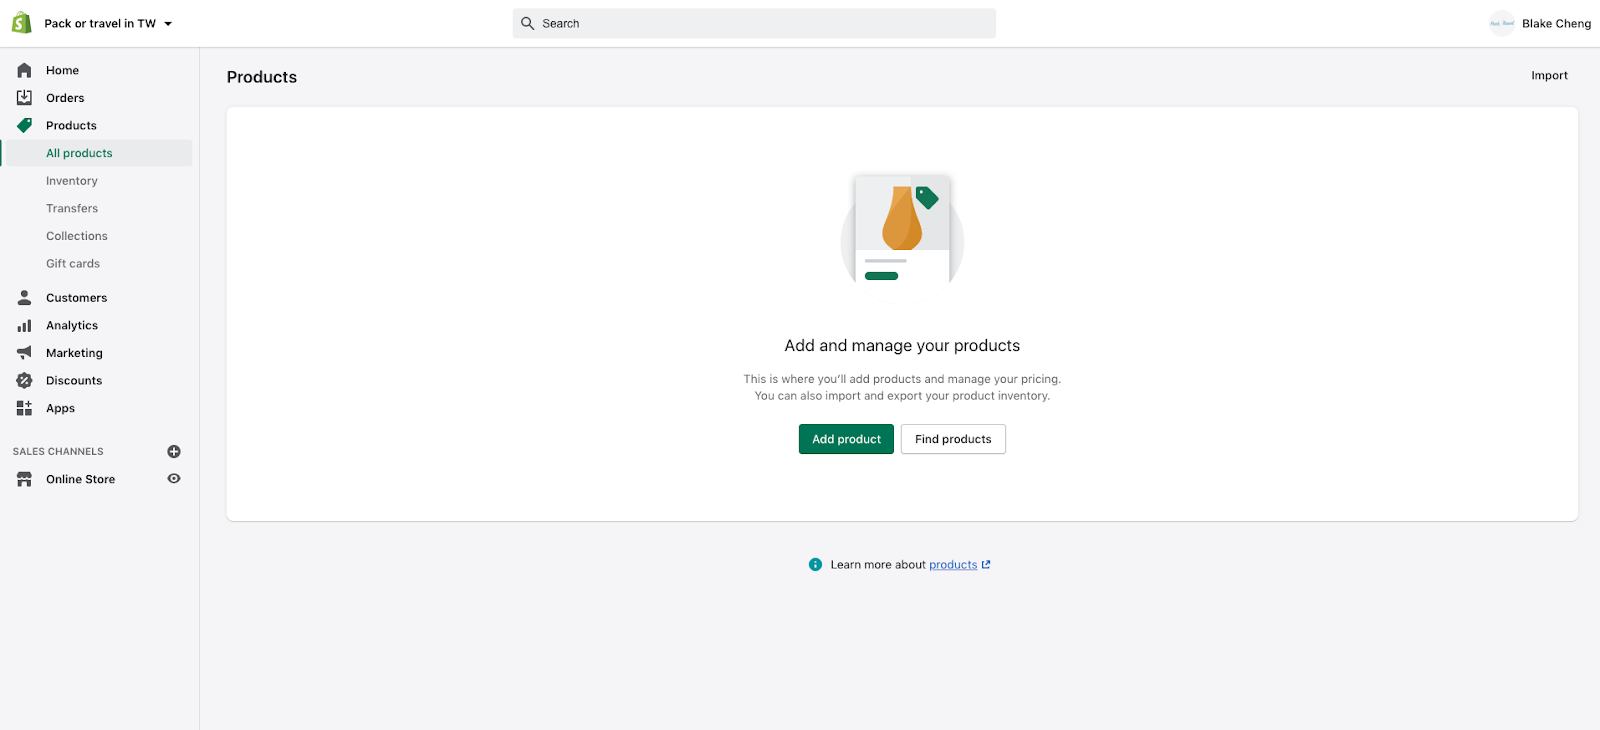
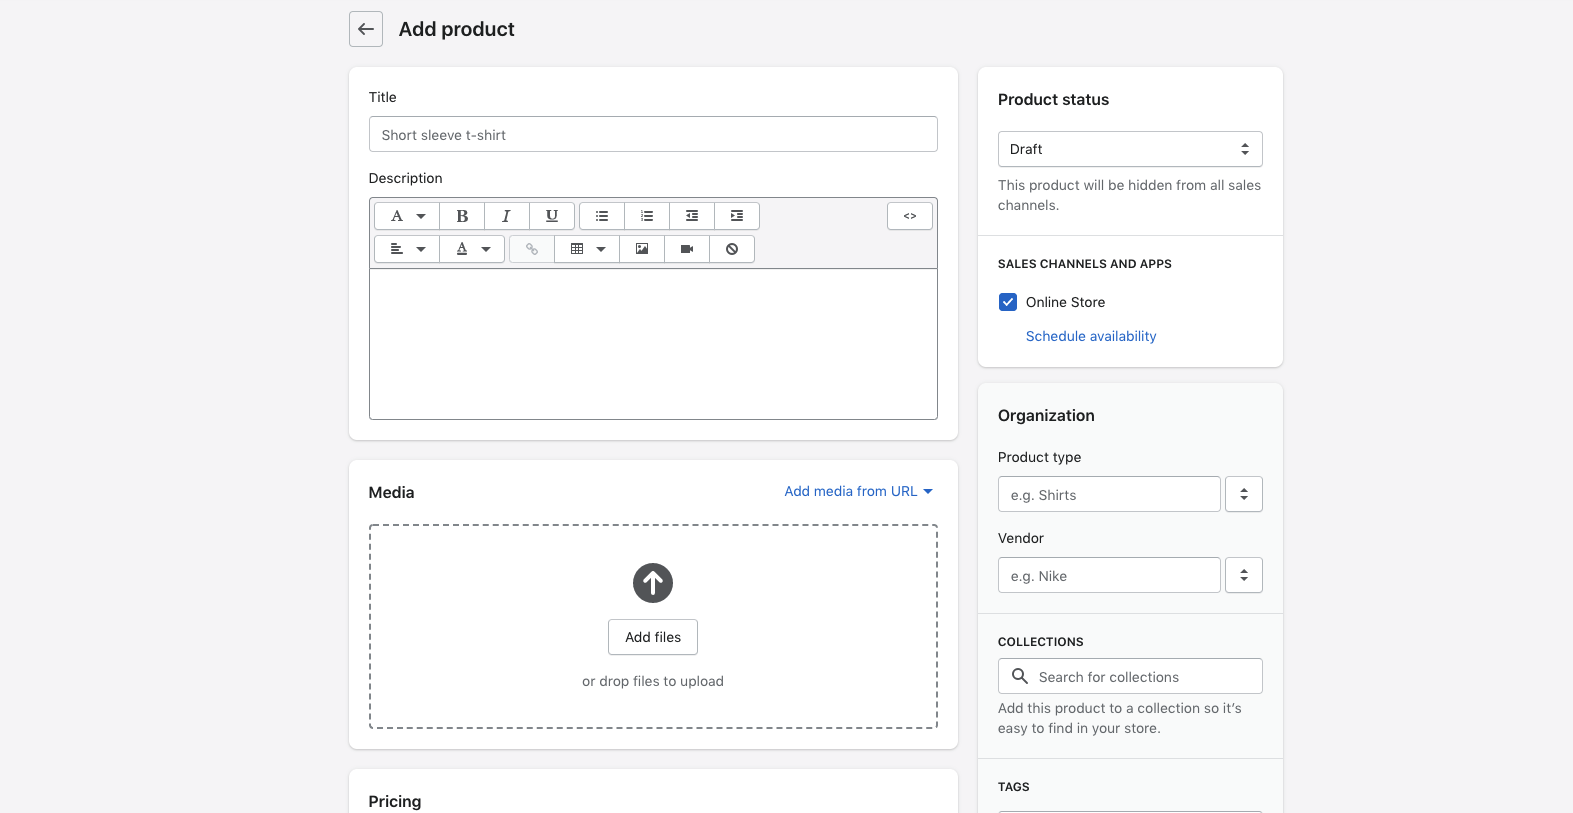
After finishing designing your website, click on “Products” in the left-hand navigation on your store page and then hit the “Add Product” button. You will see this clean and easy layout that tells you exactly what to do.
In addition to easy-to-understand product names, images, descriptions, and prices, it’s best if you can also set categories, tags, and your inventory for your products when they are listed. It is important for customers to have complete information about the products so that they can receive a product that matches their expectations. Plus, the more complete information you provide, the better your chances of being searched.
Step 4 – Go live
At this point, your domain will be under Shopify.com, showing the website’s URL like this:
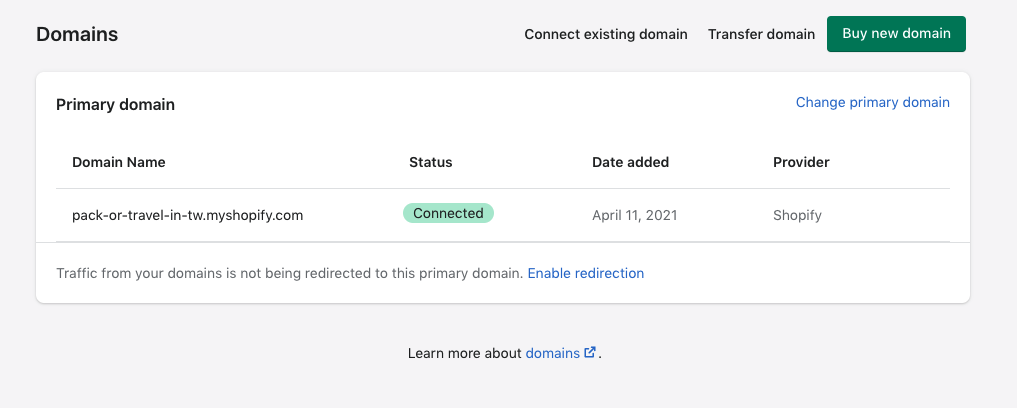
When you go live, you would want to register your own domain. If you don’t own a domain from another provider yet, you can click “Buy new domain” on the top-right side and buy from Shopify.
Before opening up your store, don’t forget to go to Settings and set up payment options to get paid from your customers!
Step 5 – Connect handy apps
In previous steps, you’ve covered all the basic needs for an online store and good to go, however, operating a profitable online business requires more than just having products up there. Now that you’re using Shopify, don’t hesitate to leverage the resources in the community to make your store more robust and profitable. Here we will introduce you to 5 Shopify apps to connect to your new store:
- Kiwi Sizing: You cannot miss this sizing tool if running a fashion and apparel brand. Kiwi Sizing provides an AI-based size recommender to give your customers the most accurate size recommendation.
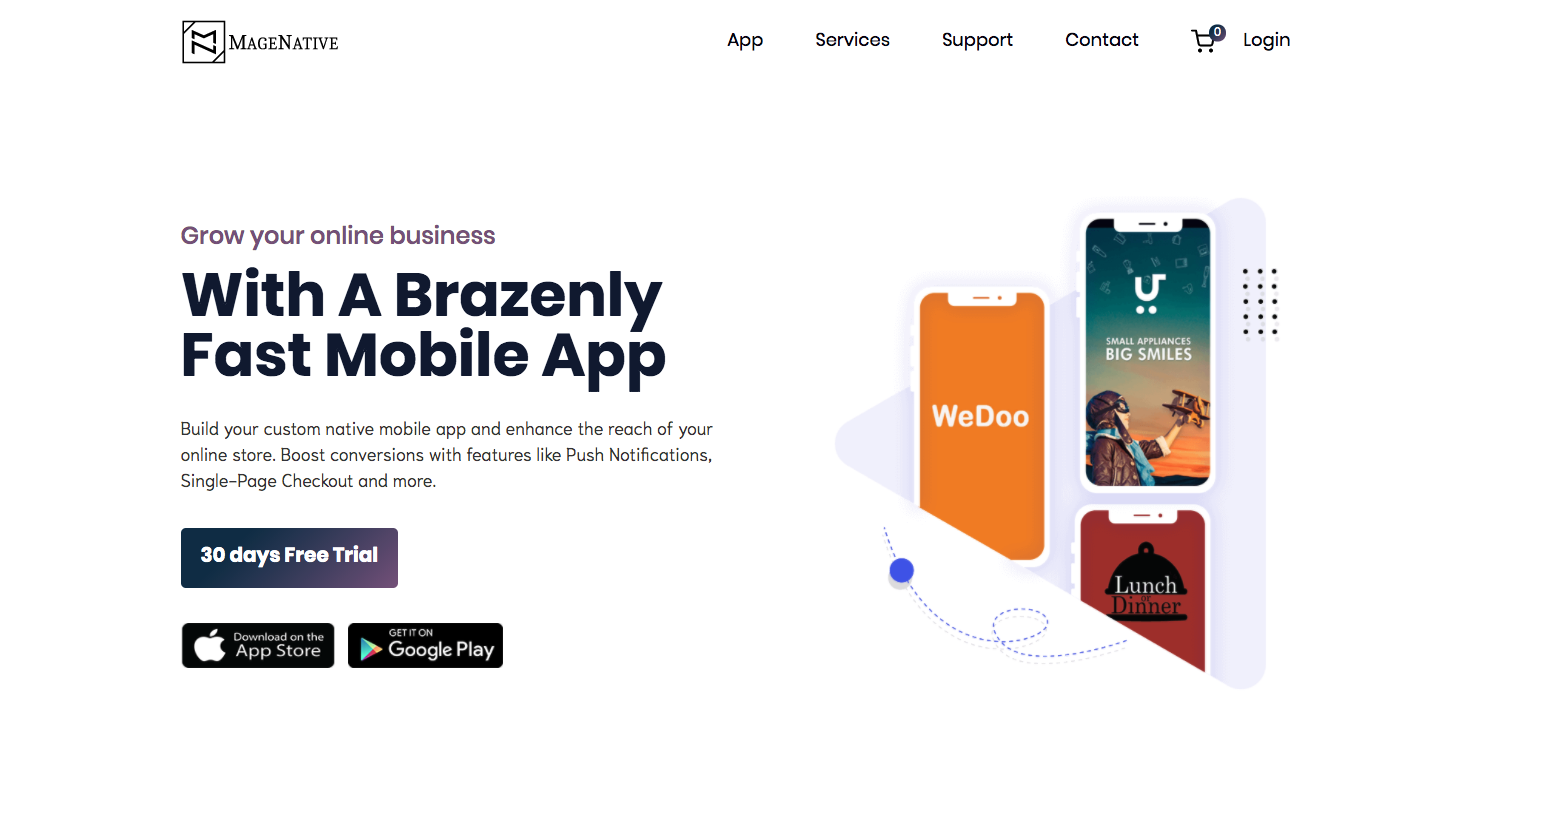
- MageNative: Mobile commerce is constantly growing as we can see in the ECommerce trend 2021. While connecting MageNative, a mobile-commerce solution, to your site, you can create an app to boost sales with marketing features such as push notifications or single-page checkout.
Read more: MageNative Integration with Kiwi Size Chart & Recommender
- Wishlist Plus: It’s an easy-to-use tool to help shoppers keep track of the products they favor by bookmarking them for the next time. Wishlist Plus can be integrated with emails, social media, and CRM tools to create personalized marketing campaigns and bring your customers back.
- Osome: It’s a solution for sellers, that lets you get invoices in a .csv file. Invoices would be sent automatically after every Shopify payment. They contain all the necessary information: Sales, Discounts, Shopify Fees, and Tax Amounts. Also, invoices include separate line items, which is very convenient when preparing Balance sheets and P&L statements. The calculation process is automatic and there is no need for manually downloading and processing sales reports. Osome will help you focus on developing your business, sales increase, and other strategic tasks. Osome Shopify is created to save you time!
- GemPage: Your website is the first impression of your customers. Using a free theme is easy but difficult to customize. With GemPage, you can drag & drop and create a unique, professional-look website to generate higher revenue by providing a better shopping experience.
- Honeycomb: It’s a cross-sell & up-sell tool for you to increase profit but no need to drive more traffic. In the digital marketing field, there are different stages to converting your customers and this tool can help raise your store’s average order value.
We hope that through this simple five-step process, you will become more familiar with the Shopify e-commerce platform and be able to open a store of your own right away!
The following two articles are perfect for newcomers as a prep to Shopify :
- Top 5 Reasons Why Customers Return A Purchase

- 5 Must-Have Shopify Apps That Can Improve Your Online Customer Experience
To reduce the return rate after a successful sale, we also recommend that you can create a size chart with unit conversion to make your customers pick the unit they are most comfortable to think in to make a purchase decision.
Or use Kiwi Sizing AI Size Recommender as a size chart tool. It will recommend the most suitable size of products for customers to reduce return rate, help you decrease the cost of the return, and to create a positive cycle of your e-commerce business.
- Official Website:https://www.kiwisizing.com/
- YouTube Tutorial:https://www.youtube.com/channel/UCQpP0NIIALWyMIa6NrFH3dw
- Demo Website:https://demo.kiwisizing.com/
- Showcase: https://www.kiwisizing.com/showcases/size-charts
